Learn how to create a hotspot using CMD with step-by-step instructions to set up your WiFi name and password, start the hotspot, share internet, and stop it.
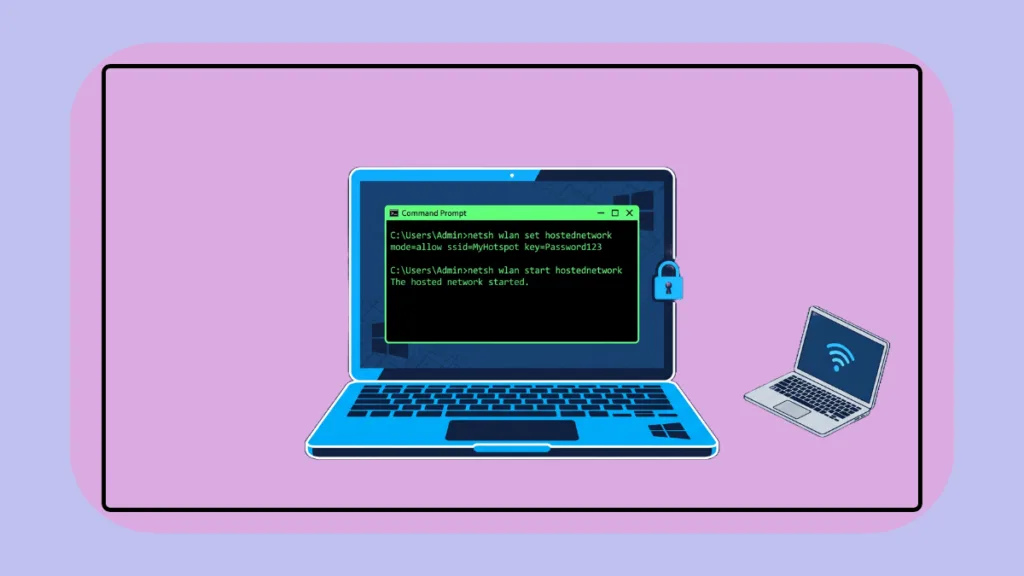
The Command Prompt (CMD) isn’t just a tool for troubleshooting — it can also turn your Windows PC into a fully functional WiFi hotspot without installing any third-party software. Whether you’re on Windows 7, 8.1, or even Windows 10, CMD gives you a powerful and quick way to share your internet connection with other devices.
What is a CMD Hotspot?
A CMD hotspot is a wireless network created directly through the Windows Command Prompt using a built-in Windows feature called “Hosted Network.“ This feature allows your PC’s wireless adapter to act as a virtual WiFi router — broadcasting a signal that other devices can connect to and use to access the internet.
Unlike third-party hotspot software, the CMD method uses Windows’ own built-in netsh (Network Shell) commands to configure and broadcast your wireless network. This means you don’t need to download, install, or pay for anything — everything you need is already inside your Windows PC.
What Are The CMD Commands to Create a Hotspot?
If you want to share your internet connection without downloading any software, then CMD has got you covered. We have listed 6 essential steps to create, manage, and troubleshoot a CMD hotspot. These commands are not only simple but also powerful and an excellent way to explore hidden Windows networking features. Now, without further ado, let’s dive into each step!
What Are the Requirements Before You Start?
Before we begin, make sure you have the following ready:
- A Windows PC (Windows 7 / 8.1 / 10 / 11)
- A WLAN card / Wireless Network Adapter
- Administrator privileges on your PC
- An active internet connection to share
Note: This method may not work on Desktop PCs without a WLAN card. Also, Windows 10 and Windows 11 users may need to use the Settings method if their driver does not support hosted networks.
Step-by-Step Guide to Create a Hotspot Using CMD
There are 6 steps to create a hotspot using CMD. So, let’s go step by step and learn how to use each of these CMD commands to get your hotspot up and running.
Step 0: How to Check If Your PC Supports CMD Hotspot
Before jumping into the commands, it’s important to verify that your PC’s wireless adapter supports the hosted network feature. Many users skip this step and end up frustrated when the hotspot doesn’t work — so don’t skip it!
Steps to Check Driver Support:
- Open CMD as Administrator (explained in Step 1)
- Type the following command and press Enter:
netsh wlan show drivers
- Look for the line that says:
Hosted network supported: Yes
What the Results Mean:
| Result | Meaning |
|---|---|
| Yes | You can proceed with the CMD hotspot method |
| No (Win 7/8.1) | Fix needed — Enable Microsoft Hosted Network Virtual Adapter in Device Manager |
| No (Win 10/11) | Use Windows Settings > Mobile Hotspot instead |
Why This Step Matters?
Skipping this check is the #1 reason most people fail to create a CMD hotspot. Always verify driver support before proceeding. Just like checking if your car has fuel before a long drive — this step saves you from unnecessary frustration later.
Possible Problem: If you see “Hosted network supported: No” — your wireless driver may not support this feature. On Windows 7/8.1, you can fix this by enabling Microsoft Hosted Network Virtual Adapter in Device Manager. On Windows 10/11, it is recommended to use Windows Settings > Mobile Hotspot instead.
Step 1: How to Open CMD as Administrator
CMD must be opened with administrator privileges — otherwise, the hotspot commands will not work. Think of administrator privileges as the master key that unlocks all of CMD’s powerful networking features.
Steps to Open CMD as Administrator:
- Press Win + R on your keyboard
- Type cmd in the Run box
- Press Ctrl + Shift + Enter to open as Administrator
OR
- Click the Start Menu and type cmd
- Right-click on Command Prompt
- Select “Run as Administrator”
- Click Yes to confirm
Pro Tip: You will know CMD is running as Administrator when you see “Administrator: Command Prompt” in the title bar of the CMD window.
Why This Step Matters?
Without admin privileges, Windows will block all network configuration commands and your hotspot will fail to start. Every single netsh command in this guide requires administrator access to execute successfully.
Possible Problem: If you don’t see the “Run as Administrator” option or it is grayed out — your user account may not have admin privileges. Contact your system administrator or switch to an admin account before proceeding.
Step 2: How to Set Your WiFi Name and Password Using CMD
Now it’s time to configure your hotspot by setting a custom WiFi name (SSID) and a secure password. This is where you get to personalize your hotspot and make it your own.
Steps to Configure Your Hotspot:
Type the following command and press Enter:
netsh wlan set hostednetwork mode=allow ssid=YourWifiName key=YourPassword
Replace the following:
| Parameter | Description | Example |
|---|---|---|
ssid= | Your WiFi hotspot name | ssid=MyHotspot |
key= | Your WiFi password | key=Pass1234 |
For example, if you want your hotspot name to be “HomeNetwork” and your password to be “Welcome123”, your command would look like this:
netsh wlan set hostednetwork mode=allow ssid=HomeNetwork key=Welcome123
Advanced Option — keyusage Parameter:
You can also add the keyusage parameter to control how your password is stored:
netsh wlan set hostednetwork mode=allow ssid=YourWifiName key=YourPassword keyusage=persistent
| keyusage Value | Meaning |
|---|---|
persistent | Password is saved for future use (Default) |
temporary | Password is deleted when hotspot stops |
Success Message You Should See:
The hosted network mode has been set to allow.
The SSID of the hosted network has been successfully changed.
The user key passphrase of the hosted network has been successfully changed.
Why This Step Matters?
This command creates the virtual WiFi adapter and registers your hotspot settings into Windows networking — think of it as building the foundation of your hotspot. Without this step, Windows has no idea what to name your network or how to secure it.
Possible Problem: If you see an error message instead of the success message — make sure CMD is running as Administrator (Step 1) and that your password is at least 8 characters long. Passwords shorter than 8 characters will be rejected by Windows.
Step 3: How to Start the Hotspot Using CMD
With the settings configured, it’s time to actually turn the hotspot ON. This is the moment your PC transforms into a wireless router!
Steps to Start the Hotspot:
Type the following command and press Enter:
netsh wlan start hostednetwork
Success Message You Should See:
The hosted network started.
How to Verify It’s Working:
After running the start command, here is how to confirm your hotspot is active:
- Press Win + R, type ncpa.cpl, and press Enter
- Open your Network Connections
- You should see a new adapter labeled “Local Area Connection * (number)”
- This is your active hotspot adapter — if you can see it, your hotspot is live!
Why This Step Matters?
This command activates the virtual WiFi adapter and broadcasts your hotspot signal so nearby devices can detect it. Without running this command, your hotspot configuration exists but is completely invisible to other devices.
Possible Problem: If you see “The hosted network couldn’t be started” — this is usually caused by one of the following:
- Your WiFi adapter is disabled — re-enable it from Network Connections
- Your WiFi driver is outdated — update it via Device Manager
- CMD was not opened as Administrator — restart CMD with admin rights (Step 1)
Step 4: How to Enable Internet Sharing (ICS) for Your Hotspot
Creating the hotspot alone is not enough — you also need to share your internet connection with it. This step is what most beginner guides miss, and it’s the reason many people end up with a hotspot that connects but shows “No Internet.”
Steps to Enable Internet Connection Sharing:
- Press Win + R, type ncpa.cpl, and press Enter
- Locate your main internet adapter (WiFi or Ethernet — whichever you use to connect to the internet)
- Right-click on it and select Properties
- Click the Sharing tab
- Check “Allow other network users to connect through this computer’s Internet connection”
- Under Home networking connection, select your hotspot adapter from the dropdown (Local Area Connection * number)
- Click OK
Important: If you don’t see the Sharing tab, you need to enable admin privileges first.
Why This Step Matters?
Without enabling ICS, devices can connect to your hotspot but will have no internet access. This step bridges your main internet connection to the hotspot — it’s like building a bridge between your internet source and your newly created WiFi network.
Possible Problem: If connected devices show “No Internet Access” after connecting to your hotspot — it means ICS was not set up correctly. Make sure you:
- Selected the correct main internet adapter (not the hotspot adapter)
- Chose the correct hotspot adapter from the Home networking connection dropdown
- Did not accidentally disable your main internet connection during the process
Step 5: How to Connect Your Devices to the CMD Hotspot
Now your hotspot is live and internet-enabled — time to connect! This step is the same as connecting to any regular WiFi network.
Steps to Connect a Device:
- On your phone, tablet, or laptop — open WiFi Settings
- Look for the WiFi name (SSID) you set in Step 2
- Tap/click on it and enter your password
- Wait for the connection to establish
- You should now have internet access on your device
Pro Tip: You can connect multiple devices to the same CMD hotspot simultaneously — great for sharing internet with friends and family at the same time.
Why This Step Matters?
This confirms your hotspot is working correctly and other devices can successfully access the internet through your PC. If your device connects and shows internet access — congratulations, your CMD hotspot is fully working!
Possible Problem: If you cannot find your hotspot name in the WiFi list of your device — make sure:
- The hotspot was successfully started in Step 3
- Your device’s WiFi is turned on
- Your device is within range of your PC
- The hotspot adapter is not disabled in Network Connections
Step 6: How to Stop the Hotspot Using CMD
When you’re done using the hotspot, always remember to stop it to save battery and bandwidth. Leaving it running unnecessarily is like leaving your car engine on when you’re not driving.
Steps to Stop the Hotspot:
Type the following command and press Enter:
netsh wlan stop hostednetwork
Success Message You Should See:
The hosted network stopped.
Note: If you used keyusage=temporary, your password will be automatically deleted after stopping.
Why This Step Matters?
Leaving your hotspot running unnecessarily wastes battery, reduces WiFi performance, and can be a security risk — anyone within range who knows your password can connect and use your internet without your knowledge.
Possible Problem: If the hotspot does not stop or you still see it broadcasting — try closing and reopening CMD as Administrator and run the stop command again. If the issue persists, disabling your WiFi adapter from Network Connections will force the hotspot to shut down.
CMD Hotspot Commands Cheat Sheet
Here is a quick reference of all the commands covered in this guide:
# Check driver support
netsh wlan show drivers

# Configure hotspot
netsh wlan set hostednetwork mode=allow ssid=YourWifiName key=YourPassword

# Configure with keyusage
netsh wlan set hostednetwork mode=allow ssid=YourWifiName key=YourPassword keyusage=persistent

# Start hotspot
netsh wlan start hostednetwork

# Stop hotspot
netsh wlan stop hostednetwork
Frequently Asked Questions (FAQs)
Q1: Can I create a hotspot using CMD on Windows 11?
Windows 11 has mostly deprecated the hosted network feature. It’s recommended to use Settings > Network > Mobile Hotspot instead.
Q2: Do I need a WiFi card to create a CMD hotspot?
Yes. Without a wireless network adapter (WLAN card), this method will not work — especially on Desktop PCs.
Q3: How many devices can connect to my CMD hotspot?
Typically up to 8 devices can connect simultaneously, depending on your adapter.
Q4: Is the CMD hotspot secure?
Yes, as long as you use a strong password (8+ characters) with a mix of letters and numbers.
Q5: Why is my CMD hotspot showing but not connecting?
Most likely an ICS (Internet Connection Sharing) issue. Re-check Step 4 of this guide.
Q6: Can I make the CMD hotspot start automatically on boot?
Yes! Create a .bat file with the start command and add it to the Windows Startup folder.
Final Thoughts
These 6 CMD steps allow you to create a fully functional WiFi hotspot without installing any software. Whether you’re sharing internet with your phone, tablet, or another laptop — CMD gives you full control over your hotspot settings. From checking driver support to enabling internet sharing, each step plays a vital role in getting your hotspot up and running.
Now you’re ready to create your own CMD hotspot like a pro!
Check out our latest posts on the Blog Page!
Pingback: How to Find Wi-Fi Password Using CMD in Windows 11 Without Admin Rights - Izoate Tech