
Learn how to easily install TTF, OTF, and custom fonts on Windows 11 & 10. Follow our step-by-step guide with tips, troubleshooting, and expert advice to make your fonts work across Word, Photoshop, Canva, and more.
It happens to all of us. You’re scrolling through DaFont or Google Fonts, and then you see it—the perfect font. It’s got the exact vibe you need for your project. But then comes the classic roadblock: how do you actually get it from a downloaded file onto your Windows PC and into apps like Word, Photoshop, Illustrator, or Canva? Don’t worry, we’ve been there, and we’ll show you how simple it is.
By the end of this guide, your fonts will be installed, organized, and ready to shine in all your creative projects. Let’s dive in.
Understanding Font File Formats and Font Licensing
Before we jump in, let’s quickly talk about the files you’ll be working with. You’ll usually see files ending in .TTF (TrueType) or .OTF (OpenType). Think of them as two different flavors of the same thing—both work great on Windows. The main difference? OTF is the slightly fancier cousin with extra design features, while TTF is simple and widely compatible.
Here’s a quick glance:
| Feature | TTF (TrueType) | OTF (OpenType) |
|---|---|---|
| Developer | Apple & Microsoft | Adobe & Microsoft |
| File Extension | .ttf | .otf |
| Compatibility | Works everywhere | Works everywhere, plus advanced features |
| Advanced Features | Basic glyph support | Ligatures, alternate characters, extra glyphs |
| Best For | Standard desktop & web use | Professional design & typography projects |
Font Licensing Tip: Before installing a font, always check its license. Some fonts are free for personal use, but commercial projects may require a paid license. Trusted sources like DaFont, Google Fonts, and the Microsoft Store usually specify usage rights clearly, so you stay compliant while designing.
Pro Tip: If your font comes in a .zip file, right-click and select Extract All before installing.
How to Install Fonts via Microsoft Store
If you want the easiest route, the Microsoft Store is your friend. This method requires no downloads or fiddling with files—it’s quick and seamless.
Here’s how we do it:
- Press Win + I to open Settings.
- Go to Personalization > Fonts.
- Click Get more fonts in Microsoft Store.
- Browse the collection and click Get (or Buy for premium fonts).
Just like that, your font is installed and ready to use in Word, Excel, PowerPoint, Notepad, Sticky Notes, and more.
Tip: This is perfect if you want a fast, no-fuss way to get fonts without worrying about file formats or extra steps.
How to Install Downloaded Fonts with the Right-Click Method
This is my go-to method for any font I download from the web. It’s classic, quick, and works every time.
- Find that font file you downloaded (it’ll be a .TTF or .OTF).
- Give it a right-click.
- You’ll see an Install option—click that, and you’re pretty much done!
- For a pro move, choose Install for all users so anyone who uses the computer can enjoy your awesome new font.
Pro Tip: Installing for all users is especially useful in shared environments like offices or family PCs.
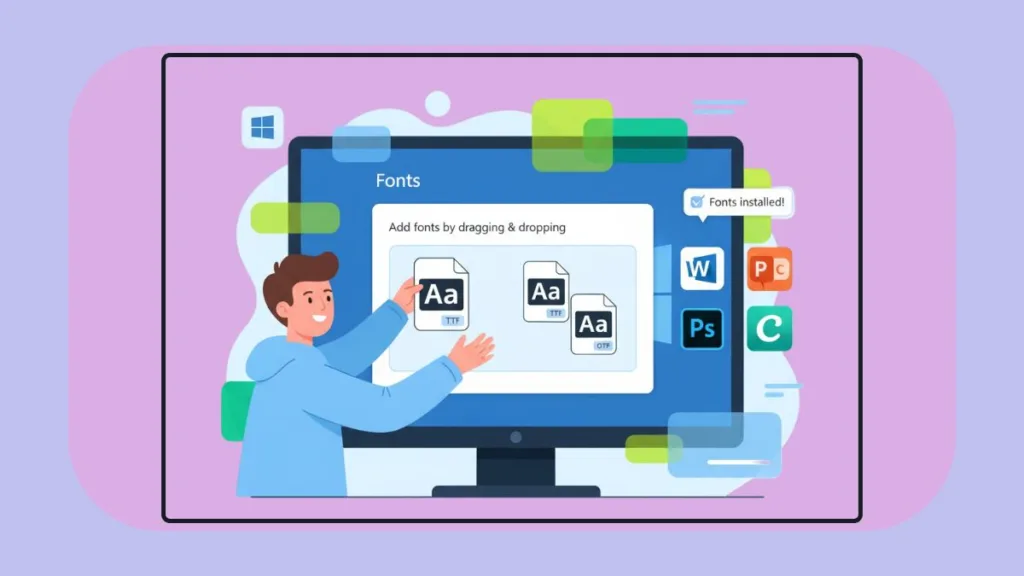
How to Install Multiple Fonts on Windows Using Drag-and-Drop
If you’ve got a bunch of fonts ready to go, the drag-and-drop method saves a ton of time.
- Open Settings > Personalization > Fonts.
- Open the folder containing your font files.
- Select one or more fonts and drag them into the dotted upload box at the top of the Fonts settings window.
Boom! Your fonts are installed and ready to use across all apps.
Tip: This method is perfect for designers who often download font bundles or want to organize a large collection.
How to Install Fonts on Older Windows Versions via Control Panel
Still rocking Windows 7, 8, Vista, or XP? No worries—the Control Panel method works just fine.
- Open Control Panel > Fonts.
- Select File > Install New Font.
- Navigate to your font file and click Install.
Pro Tip: Even on older systems, always extract ZIP files first to prevent errors.
Where Fonts Are Installed and How to Access Them
Once installed, your fonts show up everywhere you’d expect:
- Microsoft Office: Word, Excel, PowerPoint
- Design Software: Photoshop, Illustrator, Canva
- Windows Tools: Notepad, Sticky Notes, Email, Calendar
- System UI: Menus, toolbars, dialogs
You can also manage them directly in C:\Windows\Fonts, where you can preview, organize, or remove fonts.
Tip: Use the font preview window to see how it looks before adding it to your design project.
How to Uninstall Fonts
Changed your mind about a font? Removing it is easy:
- Go to Settings > Personalization > Fonts.
- Click on the font you want to remove.
- Click Uninstall.
Tip: Only uninstall fonts you’re sure you don’t need. Some system fonts are essential for Windows to display text properly.
Troubleshooting: When Fonts Don’t Appear
Okay, so you followed all the steps, but your new font is nowhere to be found. Ugh, how frustrating! Don’t throw your computer out the window just yet. This happens sometimes, and the fix is usually surprisingly simple:
- Font not showing in an app:
- Restart the program.
- Restart your PC if needed.
- Corrupted or incompatible font files:
- Re-download from a trusted source.
- Ensure it’s a .TTF or .OTF file.
- Fonts look different in design software vs. Word:
- Check if the app supports OpenType features.
- Make sure the font is installed in C:\Windows\Fonts.
- Duplicate fonts causing conflicts:
- Remove duplicates to prevent errors.
Pro Tip: Keeping your font collection organized reduces errors and makes picking the right font easier.
Follow-Up Tips and Tutorials
Once your fonts are installed, here’s how to make the most of them:
- Creative Applications: Test your fonts in Photoshop, Illustrator, or Canva.
- Font Management Tools: Use Windows Font Viewer or third-party managers to keep large collections organized.
- Advanced Typography: Explore ligatures, alternate characters, and glyphs in professional design software.
By mastering these steps, you’re not just installing fonts—you’re taking full control of your Windows typography environment.
Your Font Journey Complete: Install, Organize, and Create
And there you have it! You’re officially a font-installing pro. See? It wasn’t so bad. Now comes the fun part: opening your favorite program and seeing your new fonts in action. Give your documents, designs, and projects the flair you were looking for. After all, a good font doesn’t just make words readable—it gives them personality.
Now go make something awesome!
Check out our latest posts on the Blog Page!
I’m Vanshika Vampire, the Admin and Author of Izoate Tech, where I break down complex tech trends into actionable insights. With expertise in Artificial Intelligence, Cloud Computing, Digital Entrepreneurship, and emerging technologies, I help readers stay ahead in the digital revolution. My content is designed to inform, empower, and inspire innovation. Stay connected for expert strategies, industry updates, and cutting-edge tech insights.