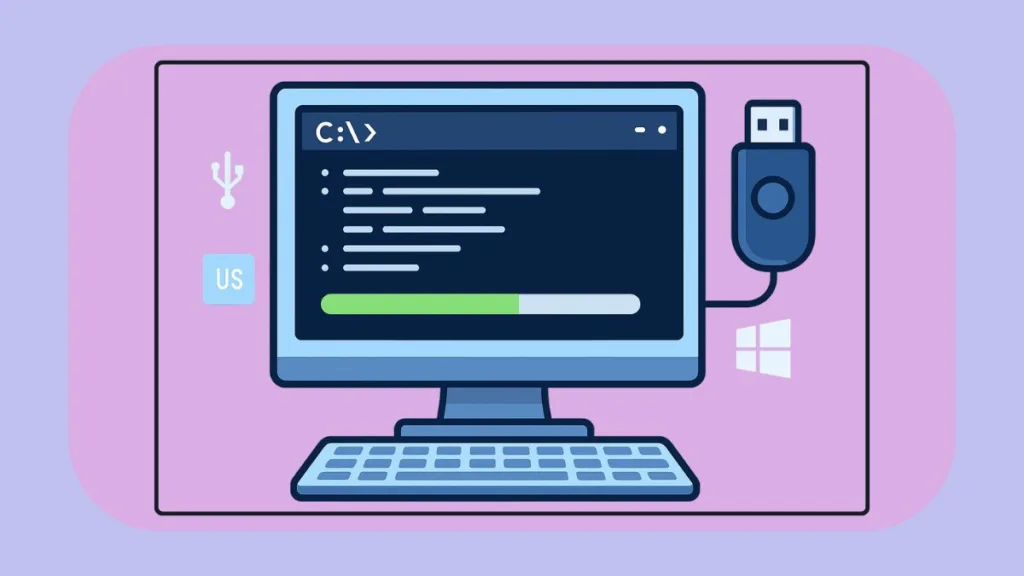
Want to know how to create a bootable pen drive using CMD? Learn the easiest step-by-step method with Command Prompt for Windows installation.
Why You Need a Bootable USB Drive
Whether you are reinstalling Windows, performing system recovery, or troubleshooting critical system errors, a bootable USB drive is an indispensable tool. Unlike CDs or DVDs, USB drives are fast, portable, and compatible with most modern systems. A properly prepared bootable USB can boot directly into Windows setup, allowing you to install, repair, or troubleshoot your PC efficiently.
While many online guides recommend third-party tools like Rufus or Microsoft’s Media Creation Tool, you can achieve the same results securely and reliably using Command Prompt (CMD) and Diskpart, which are built into Windows.
Using CMD ensures full control, avoids unnecessary software, and provides a software-free solution that emphasizes security and technical self-reliance. By mastering this approach, you gain confidence in managing system installations and troubleshooting without external dependencies. For official guidance, you can also check Microsoft’s instructions on creating Windows installation media.
Why CMD is the Preferred Choice Over Third-Party Tools
There are several compelling reasons to choose CMD for creating a bootable USB:
Security and Trust: By avoiding third-party applications, you eliminate potential security risks such as malware, bloatware, or unexpected software behavior.
Software-Free Solution: Diskpart comes built into Windows, so you don’t need additional tools or downloads.
Reliability: Diskpart is widely trusted by IT professionals for low-level disk management, ensuring a dependable bootable drive every time.
Using CMD also empowers you to understand and control each step, which is a crucial skill for advanced Windows users.
Prerequisites: What You Need Before You Start
Before creating a bootable USB, make sure you have:
- A USB flash drive with at least 4 GB of capacity; 8 GB or larger is recommended for larger Windows ISOs.
- A Windows installation DVD or ISO file.
- Administrative access to your Windows system.
Important: This process will erase all data on your USB drive. Back up any important files before proceeding.
Understanding Boot Modes: UEFI vs. Legacy BIOS
Modern computers primarily use UEFI, while older systems rely on Legacy BIOS. It’s crucial to understand these differences to create a bootable USB compatible with your system:
Legacy BIOS: Common in older machines. Requires NTFS formatting and marking the partition as active.
UEFI: Standard on modern PCs. Requires FAT32 formatting, which allows the system to locate the EFI bootloader at \EFI\BOOT\BOOTX64.EFI.
Selecting the appropriate boot mode ensures the USB drive will boot correctly and avoids errors during the installation process. For modern Windows 10 or 11 installations, UEFI is generally recommended. Legacy BIOS is only needed for older systems.
Step 1 – Preparing the USB Drive Using Diskpart
You will begin by preparing the USB drive using Diskpart. The commands differ depending on whether you are targeting a modern UEFI system or an older Legacy BIOS system.
- Insert the USB drive into your computer.
- Open Command Prompt as Administrator: Search for
cmdin the Start Menu, right-click Command Prompt, and select Run as Administrator. - Type
diskpartand press Enter to launch the utility.
For Modern UEFI Systems (Recommended)
Use these commands to format the drive as FAT32. Enter each command one at a time to avoid mistakes:
list disk
select disk X (Replace X with your USB drive's number)
clean
create partition primary
format fs=fat32 quick
assign
exitThis prepares the USB drive for UEFI boot, ensuring compatibility and correct file structure.
For Older Legacy BIOS Systems
If your system uses Legacy BIOS, use these commands to format the drive as NTFS and make it bootable:
If your system uses Legacy BIOS, use these commands to format the drive as NTFS and make it bootable:
list disk
select disk X (Replace X with your USB drive's number)
clean
create partition primary
format fs=ntfs quick
active
assign
exitThis ensures that Legacy BIOS systems recognize the USB as a bootable device.
Reminder: The clean command permanently erases all data on the selected disk. Double-check the disk number to prevent accidental data loss.
Step 2 – Creating the Boot Sector (Legacy BIOS Only)
The boot sector creation step using bootsect /nt60 is only necessary for Legacy BIOS systems. For UEFI, this step is unnecessary.
- Navigate to the boot folder of your Windows installation media:
f:
cd boot
bootsect /nt60 d:- Replace
f:with the drive letter of your DVD or mounted ISO. - Replace
d:with your USB drive letter.
For UEFI systems, simply skip this step. The FAT32 formatting and proper file structure are sufficient for booting.
Step 3 – Copying Windows Installation Files to the USB Drive
After preparing the USB drive, copy the Windows installation files. You have multiple options:
Using File Explorer (Simplest Method)
Mount the ISO or insert the DVD, then drag all files to the USB drive. This method is intuitive, fast, and avoids command-line complexity.
Using Robocopy (Reliable CMD Method)
robocopy F:\ D:\ /E
The
/Eswitch ensures all subdirectories are copied, including empty ones. This method is robust and avoids common copy errors.
Using Xcopy (Legacy Method)
xcopy F:\*.* D:\ /s /e /h /f
Handling Large Files (FAT32 Limitation): Many Windows ISOs contain install.wim or install.esd files that exceed 4 GB. FAT32 cannot store files larger than 4 GB. To overcome this, you can use DISM to split the file:
dism /Split-Image /ImageFile:F:\sources\install.wim /SWMFile:D:\sources\install.swm /FileSize:4000
This ensures full compatibility with UEFI FAT32 bootable drives.
Step 4 – Testing the Bootable USB
After copying all files:
- Restart your computer.
- Enter BIOS/UEFI settings (commonly F2, F12, ESC, or DEL).
- Set the USB drive as the primary boot device.
If everything is configured correctly, your PC should boot directly into Windows setup from the USB.
How to Make the USB Drive Non-Bootable Again (Restoring Full Capacity)
To reuse your USB drive as standard storage:
- Open Command Prompt as Administrator.
- Enter the following commands:
Restoring USB to Normal (Non-Bootable)
diskpart
list disk
select disk X
clean
create partition primary
format fs=fat32 quick
assign
exitThis removes the bootable configuration and restores full storage capacity.
FAQs About Creating a Bootable USB Using CMD
Q. Can I create a bootable USB without software?
Yes, CMD and Diskpart provide a fully functional, software-free method.
Q. Is Diskpart safe to use?
Yes, as long as you verify the correct disk before using the clean command.
Q. CMD vs. Rufus – which is better?
Rufus is faster and more user-friendly, but CMD offers full control, security, and independence, making it ideal for users who want a manual solution.
Q. Does this method work for Windows 10 & 11?
Yes. Both Windows 10 and Windows 11 installations are fully compatible with this CMD-based approach.
Conclusion
Creating a bootable USB using CMD is reliable, secure, and flexible. By following these steps, you can create USB drives compatible with UEFI or Legacy BIOS systems, handle large Windows installation files, and maintain complete control over the process.
This approach eliminates the need for third-party tools, reinforces technical self-reliance, and ensures your USB drive is ready for installation or recovery whenever needed. Mastering this method allows you to confidently manage Windows installations, system repairs, and troubleshooting on modern computers.
Check out our latest posts on the Blog Page!